Want adorable Valentine's Day nails without the salon price tag? This guide offers super-easy designs perfect for beginners. No fancy tools needed—just simple instructions and fun ideas to transform your nails. Let's get started!
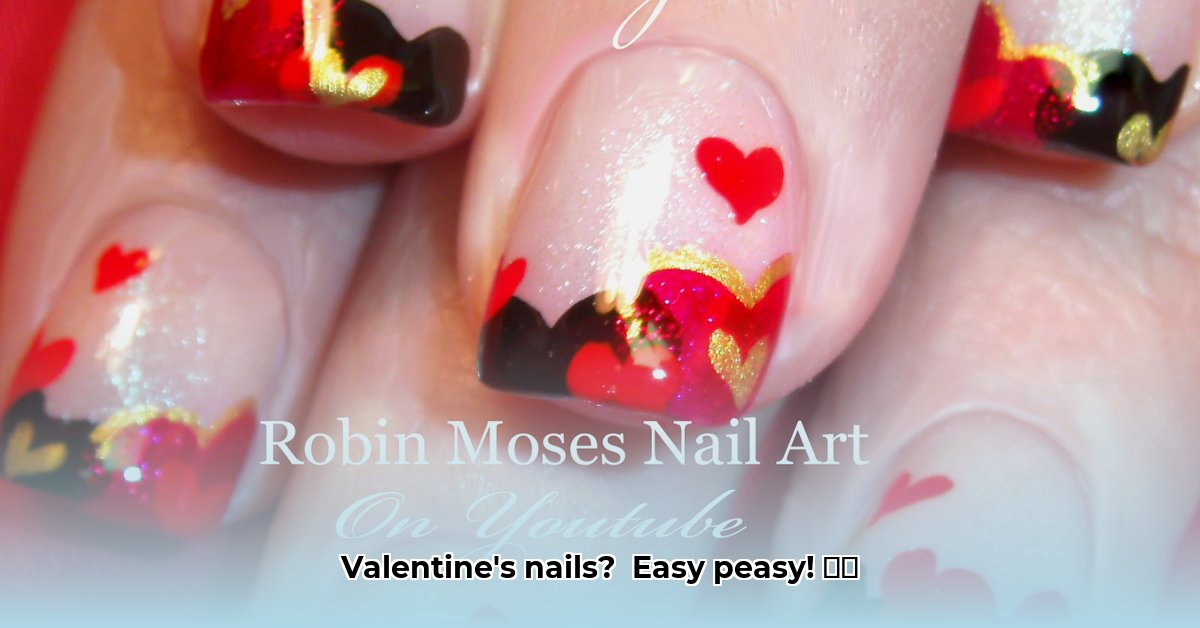
Classic Red Heart Nails: A Timeless Touch
This design is a classic—simple, elegant, and perfect for beginners. It's so easy, you'll wonder why you didn't try it sooner!
What You'll Need:
- Red nail polish (your favorite shade!)
- Clear top coat (for shine and longevity)
- Small detail brush (or a toothpick!)
Steps:
Prep your nails: Start with clean, dry nails. A base coat (clear polish) is highly recommended for protection and longer-lasting color. Apply a thin, even layer and let it dry completely.
Red base: Apply two thin coats of red polish, letting each dry thoroughly. Thin coats dry faster and prevent smudging.
Paint the hearts: Once dry, use your brush or toothpick to carefully paint small hearts on one or two nails. Imperfect hearts add charm!
Top coat: Finish with a top coat for a shiny, long-lasting manicure.
Pretty Pink and White Polka Dots: Fun and Flirty
Polka dots are always a good idea, especially for Valentine's Day! This design is super easy and lets you get creative.
What You'll Need:
- Light pink nail polish
- White nail polish
- Dotting tool (or bobby pin end/fine-tipped pen)
- Clear top coat
Steps:
Pink base: Apply two thin coats of pink polish, letting each dry completely.
Dotting time: Dip your tool in white polish.
Create dots: Gently dab the tool onto your nails to create polka dots. Experiment with sizes and spacing!
Top coat: Finish with a top coat for shine and durability.
Elegant Ombre Effect: Subtle Sophistication
Want something more sophisticated? An ombre effect creates a lovely gradient that's surprisingly easy.
What You'll Need:
- Two shades of pink (light and dark)
- Small makeup sponge
- Clear top coat
Steps:
Base coat: Apply a base coat and two coats of light pink polish. Let it dry completely.
Sponge application: Dab a sponge into the dark pink polish.
Blend: Gently dab the sponge onto nail tips, blending the darker pink into the lighter pink. Practice on paper first!
Top coat: Finish with a top coat for a polished look.
Quick & Easy Heart Tip Accent: Minimalist Chic
Short on time? This design is quick, easy, and effective.
What You'll Need:
- Pink or red nail polish
- White nail polish
- Thin detail brush or striping tape
- Clear top coat
Steps:
Base color: Apply a base coat and two coats of pink or red polish. Let it dry completely.
Heart creation: Use your brush or striping tape to create a heart shape at the tip of each nail.
Fill the heart: Fill in the heart with white polish.
Top coat: Seal with a top coat.
Pro Tips for Perfectly Polished Nails:
- Nail Prep: Cleanse and dry nails thoroughly for better adhesion and longevity.
- Thin Coats: Apply multiple thin coats rather than one thick coat to prevent bubbling.
- Patience: Allow each coat to dry completely before applying the next.
- Error Correction: Use a small brush dipped in nail polish remover to fix mistakes.
- Top Coat: Always finish with a top coat for protection and shine.
Remember, these designs are just a starting point. Experiment with colors, patterns, and techniques to create your own unique Valentine's Day look! Happy Valentine's Day!